Call us
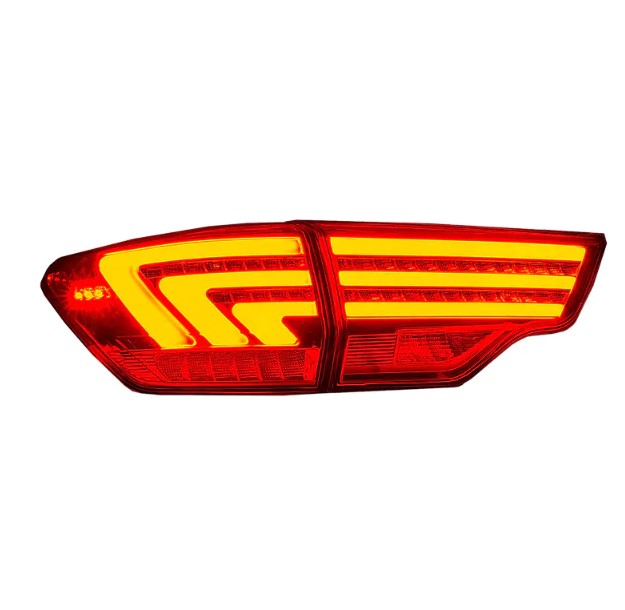
Car LED Tail Lights have become a popular choice among vehicle owners who want better visibility, improved safety, and a modern appearance. However, while many appreciate their efficiency, not everyone knows how to install them correctly. Proper installation ensures that the lighting system works smoothly, avoids electrical issues, and provides consistent performance on the road.
Installing new tail lights may sound simple, but small mistakes can lead to bigger concerns later. Understanding how to prepare, fit, and maintain the lights can make a noticeable difference in both function and appearance. Below are some practical steps and insights to help achieve a smooth installation experience.
Before starting the process, preparation is key. Make sure the vehicle is parked on a flat surface with the engine switched off. Gather the necessary tools such as screwdrivers, clips, and protective gloves. Wearing gloves helps prevent fingerprints or oil marks on the light surface, which could reduce brightness once installed.
Disconnecting the car battery before beginning any electrical work is also important. This step prevents accidental short circuits or electric shocks. Always ensure that the ignition is off and that the wires are not connected during the installation.
Removing the existing lights requires patience. Start by locating the bolts or screws that secure the lights to the car's frame. These are usually found behind the trunk lining or rear panel. Gently unscrew them without forcing any parts, as the plastic components can be fragile.
Once the screws are removed, carefully detach the tail light from the socket. Avoid pulling it too hard because the wiring harness is still attached. Disconnect the wiring plug by pressing the release tab and gently separating the connection.
Before mounting the new lighting assembly, inspect it for any visible damage. Sometimes, even minor cracks or moisture inside the housing can cause problems later. Test the light briefly by connecting it to the plug and switching it on to confirm that it works.
If the light turns on properly, disconnect it again before continuing the installation. This quick check saves time and avoids redoing the entire process later.
Proper wiring is one of the most critical steps. When connecting the new light, match each wire to the correct slot according to its function—such as brake, indicator, or reverse. Most modern lighting kits have labeled or color-coded wires to make this easier.
If the wiring configuration looks different from the old one, refer to the car's manual for guidance. Avoid cutting or joining wires unless necessary. Use connectors instead of tape to ensure a secure connection.
Once the wiring is complete, gently position the light assembly into place. Make sure it fits evenly within the panel gap to avoid vibration or movement when driving. Use the original screws to secure it tightly, but do not overtighten as that might crack the housing.
A snug fit ensures that water and dust do not enter the light enclosure, extending its life span and maintaining clarity. Check the rubber seal or gasket to confirm that it is properly aligned before tightening everything in place.
After installation, reconnect the car battery and switch on the ignition. Test every light function one by one—brake, reverse, indicator, and night mode. Observing the lights from different angles helps verify that they shine evenly without flickering.
It is also advisable to have a friend or family member stand behind the car to check visibility from a distance. If any light appears dim or unresponsive, recheck the wiring connections.
Once the lights work correctly, clean the surface with a soft microfiber cloth. Avoid using harsh chemicals, as they can damage the lens coating. Regular cleaning not only enhances appearance but also prevents dirt buildup that could reduce brightness.
Applying a small amount of automotive sealant around the edge can help prevent moisture intrusion, especially in humid or rainy environments. This small step helps protect the internal circuits from corrosion.
Additional Tips for Long-Term Use
| Tip | Description |
|---|---|
| Avoid Overloading Circuits | Use compatible fuses and do not connect additional accessories to the same circuit. |
| Keep Lenses Clean | Regular washing improves light projection and keeps the rear view clear. |
| Check Mounts Periodically | Vibration from driving may loosen bolts over time; check every few months. |
| Monitor for Condensation | If moisture appears inside, remove the light and dry it before resealing. |
| Choose Quality Materials | Durable housings and well-designed lenses provide stable performance over time. |
Well-installed tail lights enhance safety, allowing other drivers to notice your movements quickly. Consistent lighting also improves vehicle appearance, especially at night. Additionally, correctly fitted components are less likely to fail under vibration or weather changes.
A good installation not only helps maintain functionality but also reduces the need for frequent replacements. It supports energy efficiency and contributes to better road visibility for everyone.
When done carefully, replacing or upgrading the lighting system adds value to the vehicle without requiring professional assistance. Many car owners appreciate the opportunity to personalize their cars while keeping them safe and stylish.
Car LED Tail Lights can bring both style and practicality when installed with care. With attention to detail, correct wiring, and regular maintenance, they provide reliable illumination for many journeys ahead. Whether for personal upgrades or vehicle maintenance, understanding these steps helps ensure a trouble-free experience and a more confident drive.
We are a modern headlight manufacturer that integrates R&D, design, production and sales. We mainly produce headlamps, taillights, daytime running lights and other automotive lighting products.
Add: No.3 Shiyang Road, Ningxi Town, Huangyan District, Taizhou City, Zhejiang Province, China
Tel: +86-13105675552 / +86-15606586299
Fax: +86-576-89161556
E-mail: [email protected]
Copyright © Taizhou Baozhiwei Vehicle Industry Co.,Ltd. All Rights Reserved.
 English
 русский
 Español


