Call us

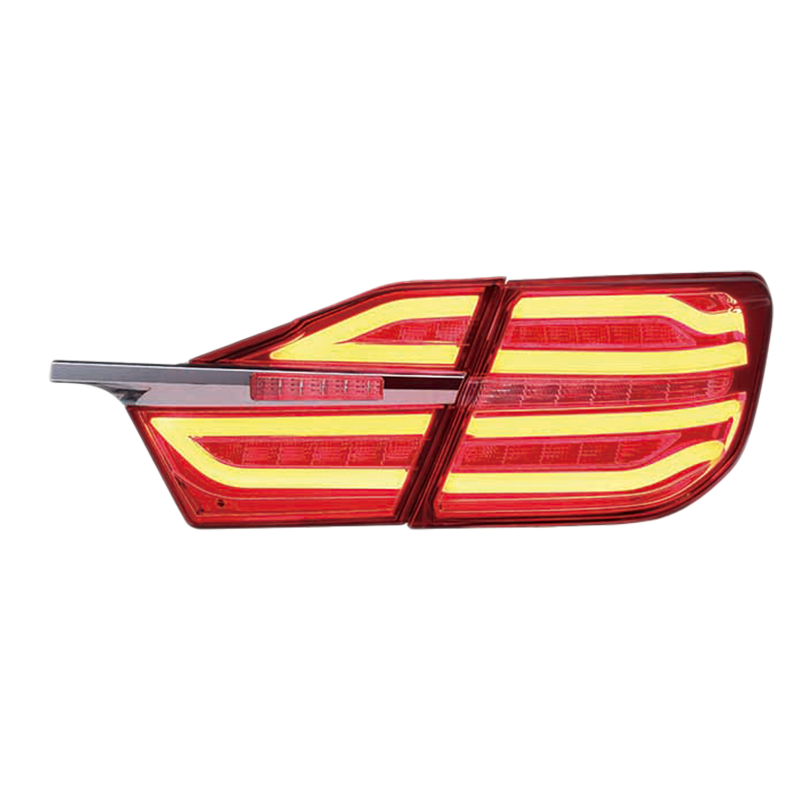
Bolting a new set of tail lights onto the car only to discover the brake function does not fire once everything is sealed up and mounted is the kind of frustration nobody wants to repeat twice. Custom car LED tail lights need a proper check before that final installation step, not after, because pulling a housing back off a freshly mounted bumper wastes time nobody budgeted for. If you have ever been halfway through a wiring job wondering whether you should have tested first, this walks through exactly what to check and how, before a single screw goes in permanently.
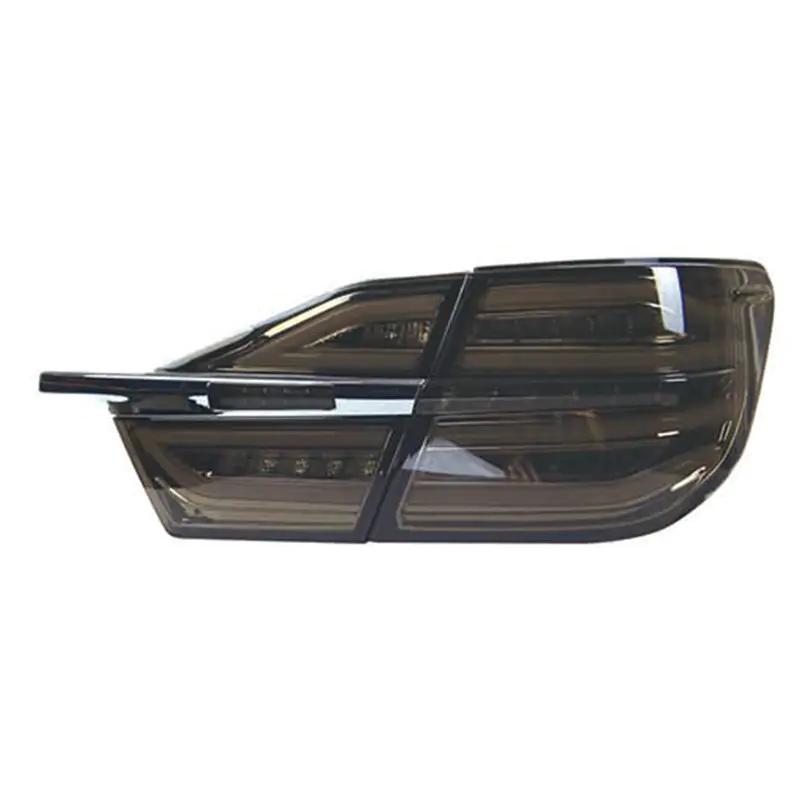
Skipping a pre install check feels tempting when the parts look fine straight out of the box. But visual inspection alone rarely catches wiring faults, dead diodes, or sealing issues that only show up once power actually runs through the unit.
A few reasons this step deserves patience rather than a rushed skip:
None of these problems are common, exactly, but when they happen, they tend to happen at the worst possible moment, usually right after everything looks finished.
Testing does not require a garage full of specialized equipment. Most of what is needed sits within reach of anyone who has done basic vehicle wiring before.
Having these on hand before starting saves a fair amount of back and forth trips to grab something midway through the process.
Setting up a bench test is simpler than it sounds. Connect the negative wire from the tail light assembly to the negative terminal of the power source, then touch the positive lead briefly to each function wire one at a time. This isolates each circuit, letting you confirm which functions actually work without guessing based on the whole assembly lighting up at once.
Keep the connection brief for each test rather than holding it continuously, particularly with mismatched voltage sources, since prolonged contact without proper current regulation can stress the diodes unnecessarily.
Multi function LED tail lights typically combine several circuits into one housing, and each one needs a separate check rather than assuming the whole unit works if one function lights up.
Connect power to the running light wire first, since this circuit usually draws the lowest current and confirms basic continuity through the assembly. A dim or flickering response here often signals a loose connection inside the housing rather than a fully failed unit.
Brake circuits typically draw more current than the running light function, so a noticeably brighter response is expected here. Test this circuit separately from the running light wire, since some housings share a dual filament or dual intensity LED design where both functions route through slightly different paths.
Turn signal testing needs a flasher relay in the circuit, or a simulated pulse, since a straight 12V connection will just illuminate the bulb steadily rather than blinking. If a flasher unit is not available on the bench, a brief on and off connection cycle can confirm basic function, though full blink rate testing really needs to happen once wired into the vehicle's actual flasher circuit.
Reverse circuits are usually the simplest to test, requiring just a direct power connection similar to the running light check. Confirm brightness looks consistent and even across the lens rather than concentrated in one visible spot, which can indicate a partially failed diode array within the housing.
Wiring problems are easier to fix before a housing is sealed and mounted than after, which is part of why this step deserves patience rather than rushing toward final assembly.
Things worth checking at this stage:
Skipping this check and discovering a wiring fault after full installation usually means disassembling everything again, which defeats the entire purpose of testing early in the first place.
Water intrusion is one of the more common long term failure points for tail lights, and testing seal integrity before mounting catches problems while they are still easy to address.
A simple approach involves:
Waterproof LED tail lights rely heavily on consistent sealing pressure across the entire gasket line, so uneven mounting pressure during installation can undermine even a properly sealed unit if the fit is not checked carefully beforehand.
| Tail Light Type | Primary Test Focus | Common Failure Point |
|---|---|---|
| Custom Car LED Tail Lights | Full function check across all circuits | Wiring mismatch during custom installation |
| Multi Function LED Tail Lights | Individual circuit isolation testing | Shared circuit interference between functions |
| Waterproof LED Tail Lights | Seal integrity and moisture resistance | Uneven gasket compression during mounting |
| OEM LED Tail Lights | Compatibility and connector fit | Connector mismatch with vehicle harness |
This comparison highlights that while the basic testing approach stays consistent, the specific failure points worth watching for shift depending on the type of tail light being installed.
Finding a problem before installation is actually the better outcome, frustrating as it feels in the moment. A few troubleshooting steps before assuming the unit itself is defective:
Most testing failures trace back to connection issues rather than the LED components themselves, so working through these basic checks before assuming a defective unit saves both time and unnecessary returns.
Testing only goes so far if the underlying build quality was inconsistent from the start. Custom car LED tail lights built with consistent wiring standards, solid diode mounting, and dependable sealing tend to pass bench testing cleanly on the first attempt, which says something meaningful about how the unit was manufactured in the first place.
Signs worth looking for when evaluating tail lights before purchase:
Investing a bit more attention at the selection stage tends to reduce the number of issues encountered during testing later, which ultimately saves time across the entire installation process.
Testing custom car LED tail lights before final installation is not a step worth skipping, no matter how confident the parts look sitting fresh out of the box. A short bench check, covering each function individually along with a basic wiring and seal inspection, catches the vast majority of problems while they are still simple to fix rather than after everything is mounted and sealed permanently onto the vehicle. Taizhou Baozhiwei Vehicle Industry Co.,Ltd. works with installers and vehicle owners who want tail lights that hold up reliably through this kind of testing process, built with wiring and sealing standards that stand up to real bench inspection rather than just looking good in packaging. If you are preparing for an upcoming installation and want tail lights that pass testing cleanly the first time, reaching out to discuss your specific vehicle setup is a solid next step before you start wiring anything permanently.
We are a modern headlight manufacturer that integrates R&D, design, production and sales. We mainly produce headlamps, taillights, daytime running lights and other automotive lighting products.
Add: No.3 Shiyang Road, Ningxi Town, Huangyan District, Taizhou City, Zhejiang Province, China
Tel: +86-13105675552 / +86-15606586299
Fax: +86-576-89161556
E-mail: [email protected]
Copyright © Taizhou Baozhiwei Vehicle Industry Co.,Ltd. All Rights Reserved.

 English
 русский
 Español