Call us
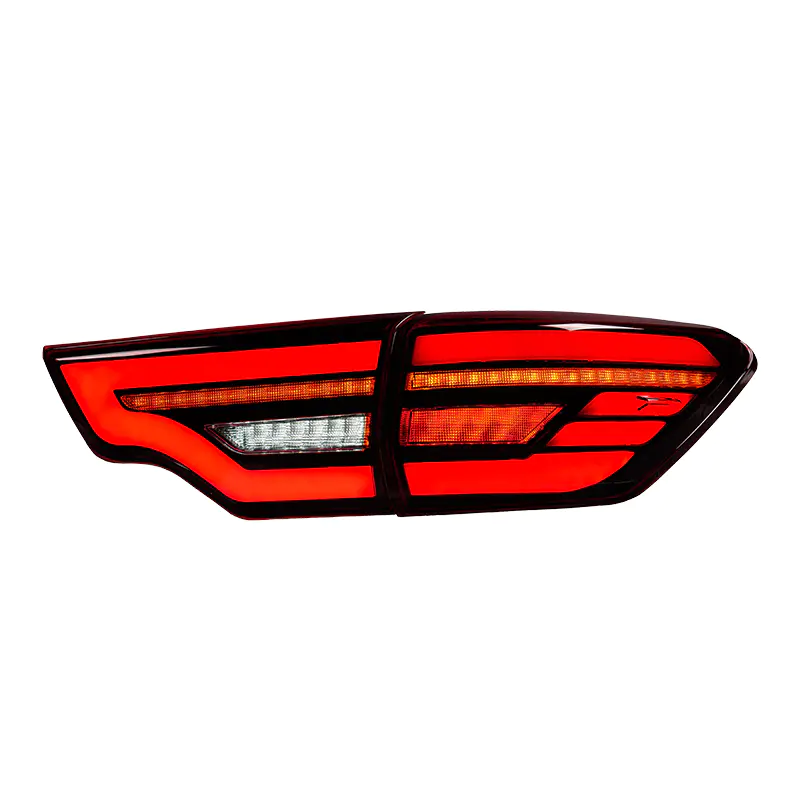
When moisture shows up inside Car Led Tail Lights, the problem usually starts with a weak seal, a tired gasket, or a small crack that lets damp air move in. Warm air inside the lamp meets a cooler lens surface, and that change creates fog. Many owners notice it after rain or a wash, then wonder whether the unit needs drying, resealing, or replacement.
Moisture usually enters through a weak seal, a tired gasket, or a cracked edge that lets damp air move in. Warm air inside the lamp meets a cooler lens surface, and that change creates fog. If the seal has already opened a little, fog can turn into droplets and then into visible pools at the lower edge.
The issue is not always dramatic early on. A light haze may show up after rain, after a wash, or after the vehicle sits in a cold space. Many owners think the moisture will vanish on its own, but the same path that let water in can keep feeding the problem until the housing is opened and checked.
A careful repair starts with the real source, not the surface symptom.
A few small clues can tell you that the rear lamp needs attention before the inside parts are affected.
If more than one sign appears, the unit should be inspected from the outside and the inside. A simple wipe of the lens will not stop moisture that keeps entering through a weak point.
| Visible Sign | Likely Cause | What It Suggests |
|---|---|---|
| Light Haze | Normal condensation or a small gap | Check the seal line initially |
| Droplets | Direct water entry | Open the housing and inspect the joint |
| Uneven Brightness | Moisture on internal parts | Dry the unit and review the connector area |
| Corrosion Marks | Water has stayed inside for a while | Clean, dry, and inspect carefully |
| Repeated Fog After Cleaning | Entry point is still open | Reseal the housing instead of only drying it |
A tidy work area makes the job easier and lowers the chance of damage. The goal is to remove the unit carefully, clean it well, and rebuild the seal without leaving weak spots.
Keep these items ready:
Before you begin, make sure the lamp body is cool and dry. If the vehicle has been washed or driven in wet weather, give the unit time to settle so trapped moisture does not spread when the housing is opened.
Drying comes before sealing when water is already inside. If moisture remains trapped, the new seal may close in damp air and the problem can return later. A slow drying process is safer than strong heat.
Use these steps:
Avoid aggressive heat. Too much heat can warp the lens, soften nearby plastic, or move the seal line out of shape. A calm drying method protects the housing and gives the next step a cleaner base.
The repair works better when each stage is handled in order. Rushing one stage often creates a new leak that is harder to trace later.
Take out the lamp assembly without forcing clips or pulling on the wiring. A smooth removal lowers the risk of bending the housing or cracking a corner. Place every small part in order so the unit can go back together the same way.
Look at the full seal line, not only the front edge. Small cracks often appear near corners, screw points, or cable openings. A light bend in the housing can also leave a path for air and water.
Old sealant that has hardened can block a new seal from sitting flat. Lift away loose material, then clean the contact area until it feels even. Do not leave dust or greasy marks on the joint surface.
Place the new sealant in one steady line around the joint. Gaps in the line can become weak spots. Too much material can also be a problem if it prevents the housing from closing evenly.
Press the parts together in a calm and balanced way. Uneven pressure can twist the seal or leave one section loose. After closing, check that the edge sits flat and the seal line looks continuous.
Put the lamp back in place and secure it without over tightening. Then inspect the edge again. If the housing sits crooked, the seal may not hold during washing or vibration.
Many repeat leaks come from simple repair errors rather than from a deep structural problem. The same moisture returns because one small detail was missed during the fix.
Each of these can leave a small opening that is hard to see at the start. A careful check after reassembly is often the difference between a short repair and a lasting one.
After the unit has been resealed, a few simple habits help keep it clear. These habits do not take much time, but they can protect the repair from daily wear.
If the fog appears again, do not only dry the inside and stop there. Trace the entry point and review the full seal line. The real fix usually sits where the moisture entered, not where it collected.
Routine care is often easier than repeated repair. A quick look at the housing after washing can show early changes before they become a larger issue. Keeping the rear area clean also helps because dirt can hide tiny cracks or weak edges.
When you notice the earliest sign of haze, check the seal line and the socket opening at once. Early attention usually keeps the repair simple. Waiting too long can let moisture reach parts that are harder to clean or replace.
Some housings can be sealed again. Others have damage that is too spread out for a simple repair. Replacement may be the practical choice when the shell has a clear crack, the inside shows steady corrosion, or the fog returns again after careful resealing.
A unit with repeated leak points may no longer close evenly. In that case, more sealing material will not solve the full problem. A new housing can restore clarity and reduce the time spent on repeated fixes.
Look at the state of the shell, the inner surface, and the connector area. If the damage is light and local, repair may still make sense. If the damage is broad, repeat moisture can keep coming back even after a careful effort. The choice should come from the condition of the unit, not from guesswork.
That approach saves time and prevents frustration later.
Start with a full inspection, then decide whether drying, resealing, or replacement is the right path. A repair that closes the real opening can restore clear light output and help the rear of the vehicle look clean again. If the problem has already returned more than once, the housing deserves a closer look before another round of sealing begins. For owners, installers, and parts buyers who need steady support for lighting related supply needs, Taizhou Baozhiwei Vehicle Industry Co.,Ltd. can be a practical contact point when you are planning the next repair step.
We are a modern headlight manufacturer that integrates R&D, design, production and sales. We mainly produce headlamps, taillights, daytime running lights and other automotive lighting products.
Add: No.3 Shiyang Road, Ningxi Town, Huangyan District, Taizhou City, Zhejiang Province, China
Tel: +86-13105675552 / +86-15606586299
Fax: +86-576-89161556
E-mail: [email protected]
Copyright © Taizhou Baozhiwei Vehicle Industry Co.,Ltd. All Rights Reserved.
![]()
 English
 русский
 Español


