Call us
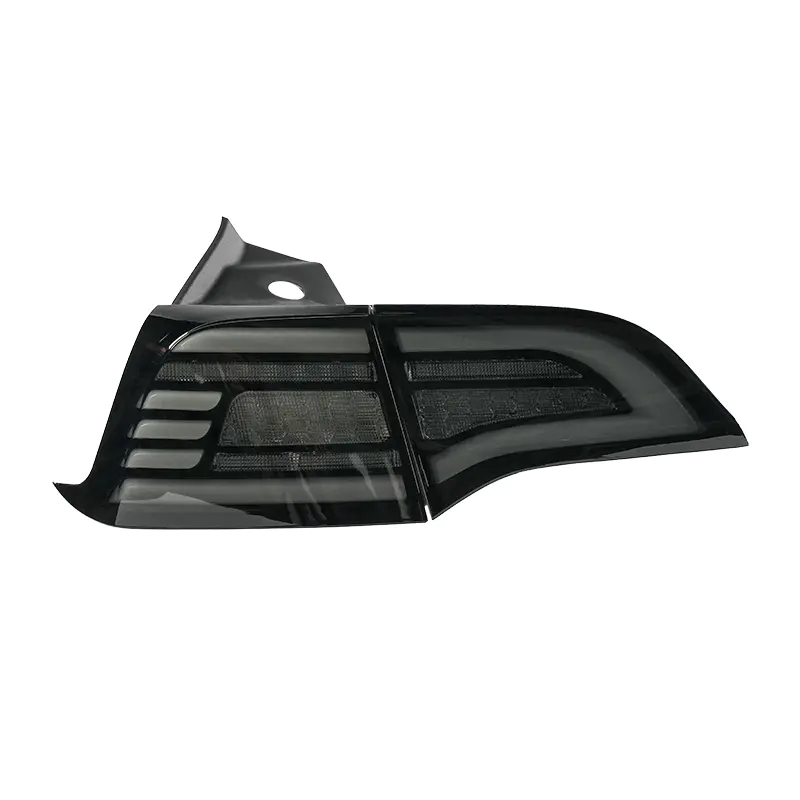
Swapping out a stock light housing sounds simple until the harness turns into a tangle of unlabeled wires and nobody wants to be the one who shorts out a fuse box mid-install. That fear is exactly why so many buyers hesitate before ordering Custom Car Led Tail Lights at all — the light itself is rarely the hard part, the electrical side is. Vehicle owners want a cleaner look, sharper brake response, and a housing that doesn't scream aftermarket from across a parking lot, but they also don't want to spend a weekend chasing a blown fuse. That tension between wanting an upgrade and worrying about the wiring underneath it sits at the center of almost every question a buyer brings to a supplier.
Tail light wiring isn't complicated on paper. A handful of circuits control brake signals, turn indicators, reverse lights, and running lights, and they're usually bundled into one connector behind the housing. Trouble starts when someone assumes every housing uses the same pin layout as the one they're replacing.
It doesn't. Polarity gets reversed, grounds get shared incorrectly, or a splice meant to be temporary corrodes within a season because moisture got in. None of that is dramatic, but it adds up, and it's the reason so many installers end up chasing flickering signals weeks after the job looked finished.
A few patterns show up again and again:
None of these mistakes are hard to avoid. They just require slowing down for a step that feels unnecessary until it isn't.
There's also a timing element people underestimate. Rushing an install during a lunch break, or trying to finish before rain sets in, pushes people toward shortcuts they'd normally skip. A splice that would have taken five extra minutes to insulate properly gets wrapped once with tape and left alone. Weeks later, that tape has lifted at the edge, moisture has crept in, and the fix now takes longer than the original job would have taken. Patience during the wiring stage tends to save far more time than it costs.
Not every setup is a straightforward drop-in, and that's worth checking before parts arrive. Some platforms run resistive load systems that expect the higher draw of older bulb types; drop in a diode-based housing without adjusting for that, and the dash may throw a fault code even though the light itself works fine.
So before ordering, it helps to confirm three things. Does the housing use the same connector shape as the factory unit? Does the vehicle's onboard system monitor bulb-out warnings? Do the mounting points line up without modification? Skipping this check is a common reason buyers end up disappointed with a fixture that, on its own, was perfectly fine.
None of this needs specialized equipment. A test light, a multimeter set to continuity mode, and a bit of patience will answer nearly all of these questions in under an hour. Buyers who skip this stage entirely aren't necessarily making a mistake either — plenty of modern fixtures are built to match common connector standards across a wide range of vehicle types, which is part of why plug-and-play options have become so popular among people who'd rather spend their weekend driving than troubleshooting a fuse box.
Here's where things get practical. The safest approach avoids cutting anything on the vehicle's original harness, which means the swap can be reversed later without leaving a mess behind for the next owner or technician.
That last step matters more than people give it credit for. Testing before reassembly saves a second teardown if something isn't wired the way it should be.
A housing can be wired flawlessly and still fail within a season if moisture works its way past the gasket. This is where Waterproof LED Tail Lights earn their reputation — not because water exposure is dramatic, but because it's constant. Every drive through rain, every car wash, every cold morning with condensation building inside the lens is another small test the seal has to pass.
Connectors deserve the same attention as the lens itself. A dielectric grease applied to the pins before plugging them in adds a layer of protection that a lot of installers skip simply because it feels like an extra step. It isn't extra. It's the difference between a connection that lasts and one that corrodes quietly until a light starts flickering for no obvious reason.
Some buyers want more than a straightforward brake-and-turn setup — they're looking at fixtures that combine sequential turn signals, dynamic braking patterns, or integrated reverse functions into a single housing. Multi Function LED Tail Lights handle several of those jobs through one connector instead of several, which can actually simplify wiring rather than complicate it.
The catch is that these housings often rely on a small onboard control module to manage timing between functions. If that module isn't seated properly, or if it's exposed to heat it wasn't rated for, functions can start overlapping in ways that look like a wiring fault even when the harness itself is fine. Mounting location matters here almost as much as the wiring does.
Buyers comparing factory-style fixtures against aftermarket housings are usually weighing a handful of practical tradeoffs rather than chasing a particular look. A quick breakdown below shows how these categories tend to differ in day-to-day use.
| Consideration | OEM LED Tail Lights | Custom Car Led Tail Lights | Waterproof LED Tail Lights | Multi Function LED Tail Lights |
|---|---|---|---|---|
| Install complexity | Generally plug-and-play | Depends on connector match | Depends on seal quality | May need a control module |
| Wiring risk | Low, factory matched | Moderate without adapter harness | Low if gaskets are intact | Moderate, timing sensitive |
| Visual customization | Limited | High | Varies by design | Moderate to high |
| Weather resistance | Standard factory rating | Varies by manufacturer | Built around sealing | Varies by design |
| Function scope | Standard brake, turn, reverse | Depends on model chosen | Standard functions | Combined or sequential functions |
Reading through that comparison, it becomes clear that no single category wins across every column. A buyer prioritizing a distinct look will lean toward custom housings, while someone focused purely on wiring simplicity might stick closer to factory-style parts and add weatherproofing separately.
It's worth naming a few habits that cause more damage than the actual electrical work does. Splicing directly into a factory wire without a proper connector is one of them — it feels faster, but a loose splice under a bumper is exposed to vibration, heat, and moisture all at once. Another is ignoring polarity when a housing doesn't use a keyed connector. Reversed polarity on a diode-based circuit doesn't always blow anything immediately; sometimes it just causes intermittent function loss that shows up weeks later and gets blamed on the fixture instead of the install.
Grounding gets overlooked too. A shared ground point that's already carrying load from another accessory can cause dimming or flicker that has nothing to do with the tail light itself. Running a dedicated ground wire back to the chassis, rather than tapping into whatever's closest, avoids a lot of guesswork later.
Heat is another factor that rarely gets discussed until something melts. A connector tucked too close to an exhaust path, or wiring routed along an edge that flexes every time the trunk closes, wears down faster than anyone expects. Insulation that looked fine on install day can crack within a season if it's constantly rubbing against a sharp edge. Routing wire loosely, with a little slack built in, and securing it away from moving parts costs almost nothing in effort but prevents a whole category of failures that otherwise show up months down the line, usually at the worst possible time.
Testing doesn't need to be complicated, but it does need to be thorough. Cycle through every function with the panel still open — brake, turn signal on both sides, reverse, and running lights — before buttoning anything back up. Watch for flicker, delayed response, or one function bleeding into another, since those are early signs of a connector that isn't fully seated rather than a defective fixture.
A second pass after the vehicle has sat overnight is worth the extra few minutes too. Some connection issues only show up once components have cooled and contracted slightly, which can reveal a loose pin that seemed fine during the initial test. Buyers sourcing in volume for resale or fleet use often build this two-stage check into their own quality process before parts ever reach a customer.
It's also worth thinking past the individual install once volume enters the picture. A single unit that develops a flicker is an inconvenience. A batch of units with the same intermittent fault, shipped out to dozens of end customers, turns into a support headache that eats far more time than the original testing would have. That's really the argument for building a repeatable check into a sourcing process rather than treating every unit as a one-off. Consistency isn't glamorous, but it's the thing that keeps a return rate low enough that nobody has to think about it.
Getting a tail light swap right isn't really about one clever trick, it's about respecting a handful of small steps that plenty of people skip when they're in a hurry. Matching connectors instead of cutting wires, sealing every joint against moisture, checking load compatibility before power goes back on, and testing functions before the panel closes — none of these are difficult individually, but skipping even one tends to be where problems start. For buyers evaluating suppliers for Custom Car Led Tail Lights, Waterproof LED Tail Lights, or Multi Function LED Tail Lights at volume, the same principles apply on a larger scale: consistent connector tolerances, reliable sealing across a full production run, and housings that hold up under repeated testing rather than passing inspection once and failing in the field. Taizhou Baozhiwei Vehicle Industry Co.,Ltd. works with buyers who need that kind of consistency across bulk orders, and welcomes inquiries from anyone looking to discuss specifications, sample units, or sourcing details for an upcoming order.
We are a modern headlight manufacturer that integrates R&D, design, production and sales. We mainly produce headlamps, taillights, daytime running lights and other automotive lighting products.
Add: No.3 Shiyang Road, Ningxi Town, Huangyan District, Taizhou City, Zhejiang Province, China
Tel: +86-13105675552 / +86-15606586299
Fax: +86-576-89161556
E-mail: [email protected]
Copyright © Taizhou Baozhiwei Vehicle Industry Co.,Ltd. All Rights Reserved.
 English
 русский
 Español


